The procedure step-by-step
Step 1: Intake
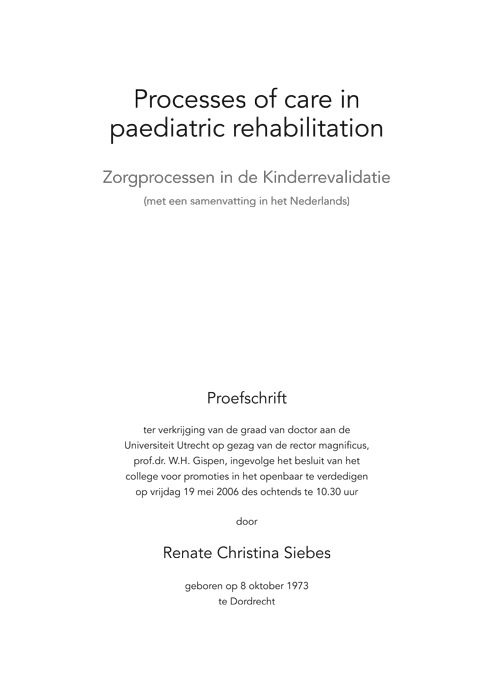
We always start with an interview. This can be done by telephone or video call. Using a checklist we go through the design and suggest a template for the desired layout. With well-aimed suggestions you're sure to be inspired. We will also discuss the exact desired text style and scientific conventions and go through the planning and working procedure.
Step 2: Designing the proof chapter
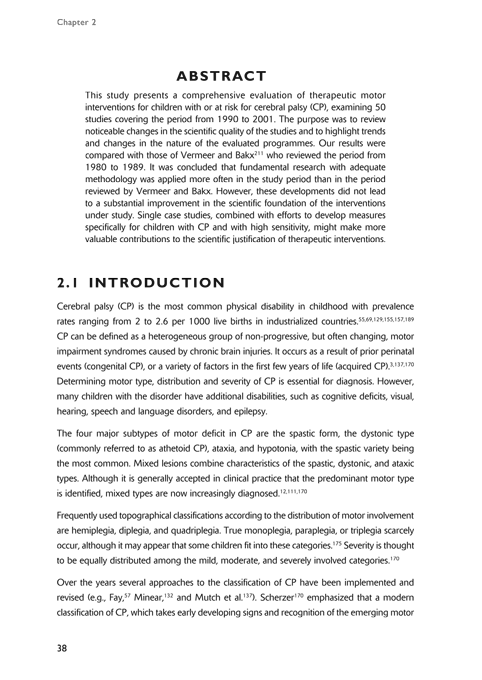
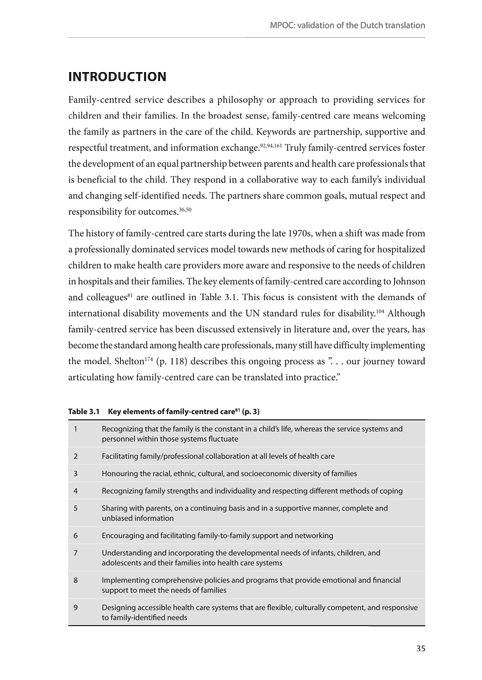
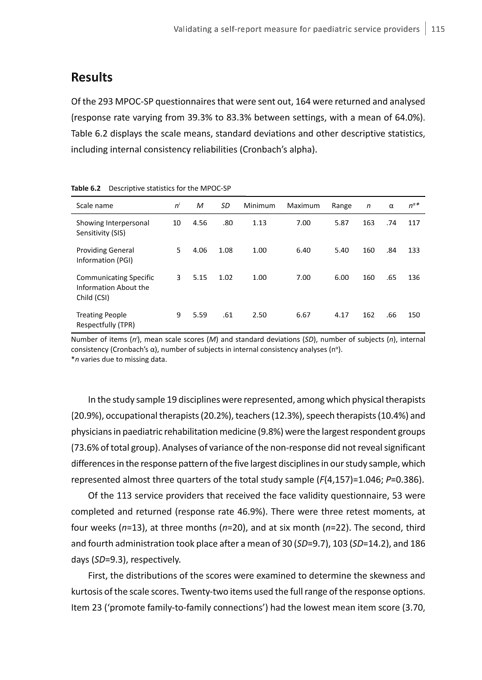
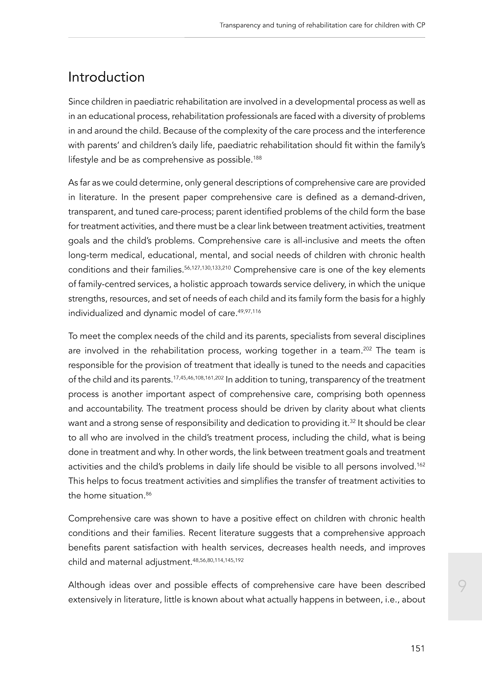
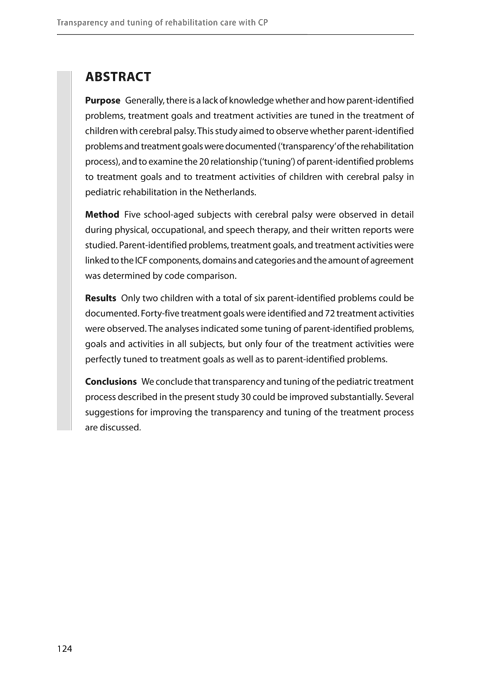
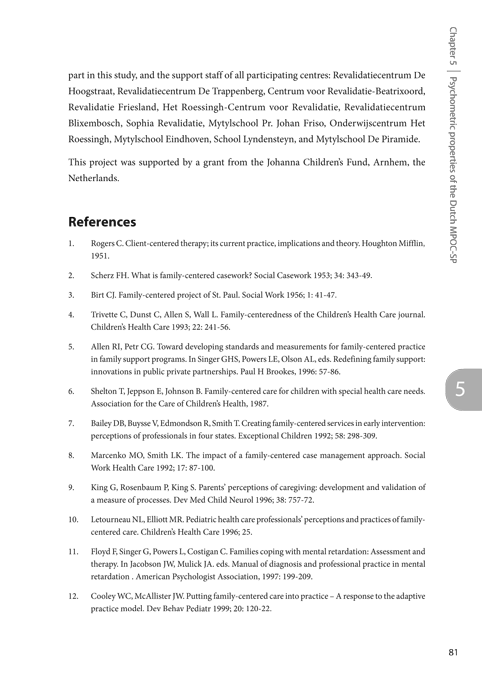
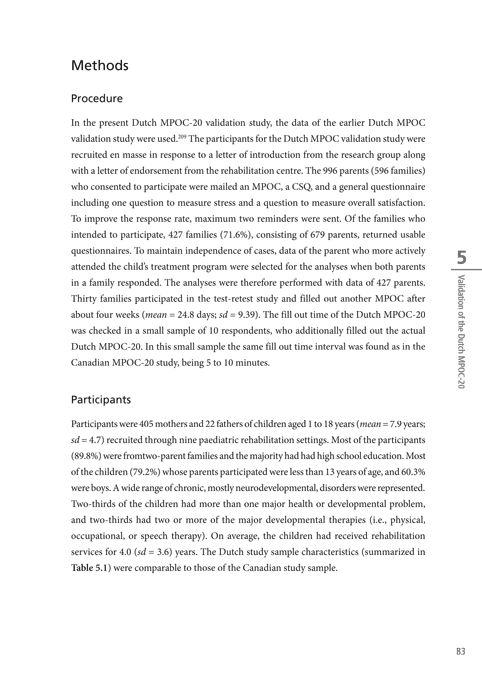
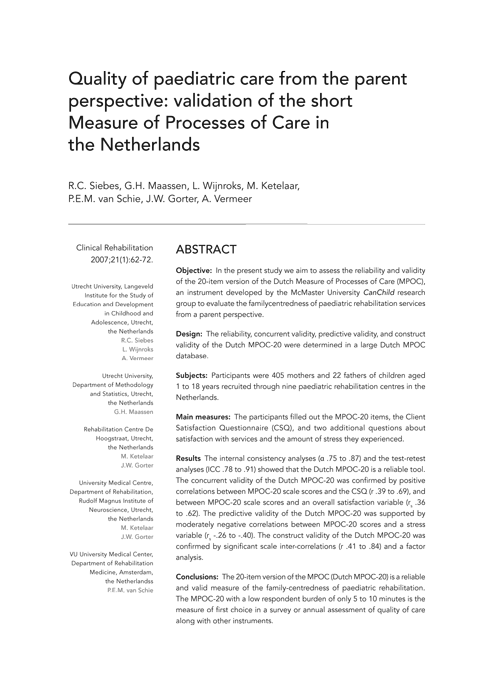
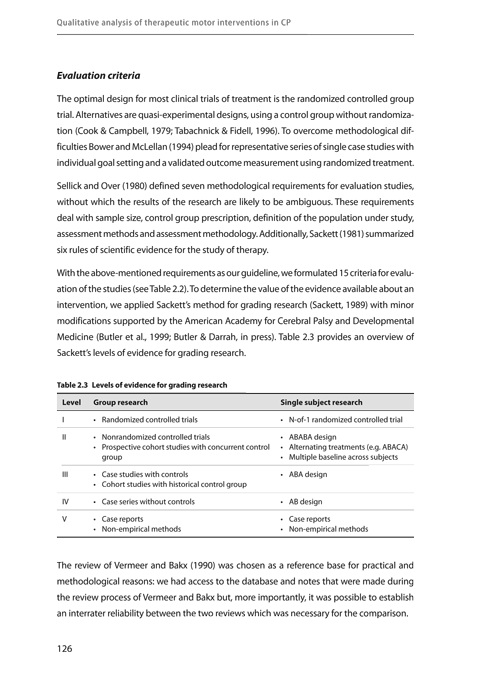
Once your designing desires have been discussed, these will be implemented in a proof chapter. For this, you will provide one representative chapter, including tables, figures, and text. I will send you a PDF file of the result, so you can judge the layout properly.
Step 3: Proof chapter approval
A proof chapter is rarely as you wanted in one go. In the PDF file you provide comments on what you want to change or would like to try out. We will keep adjusting the layout until you are completely satisfied.
Step 4: Send the remaining chapters
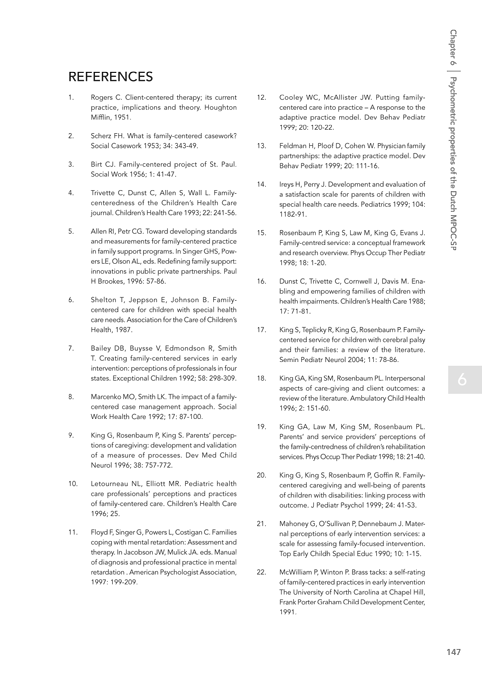
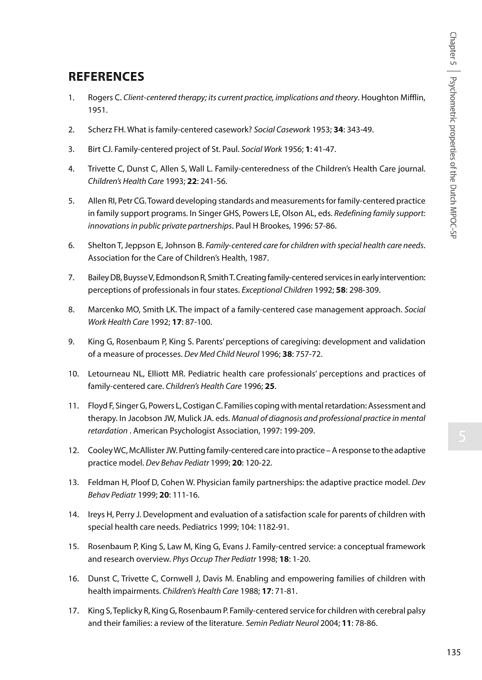
You now send all remaining chapters. These chapters should be textually finished. Chapters that you are still working on may be sent later. In the column to the right under 'Instructions for file delivery' you can read how documents and figures should be sent optimally. Check whether your list of files and data are complete using the Checklist.
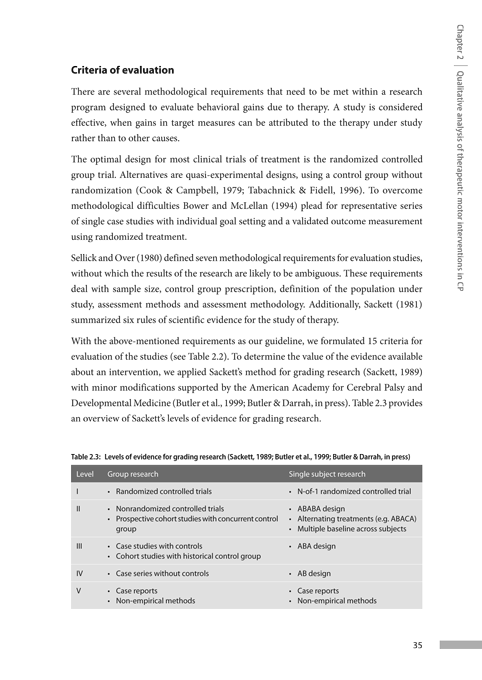
Step 5: The layout of your thesis
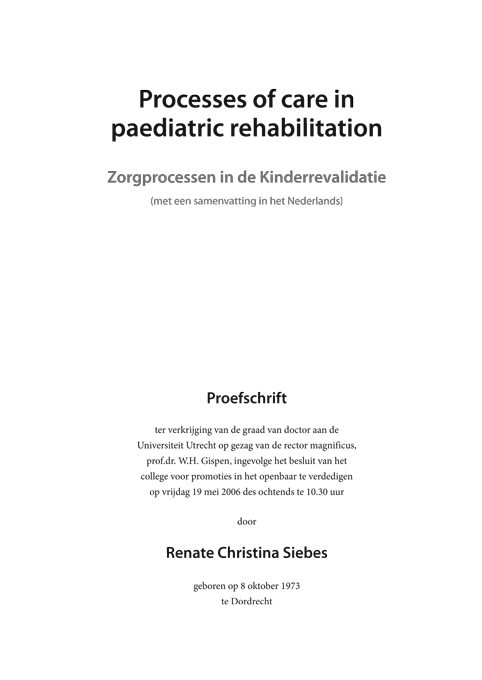
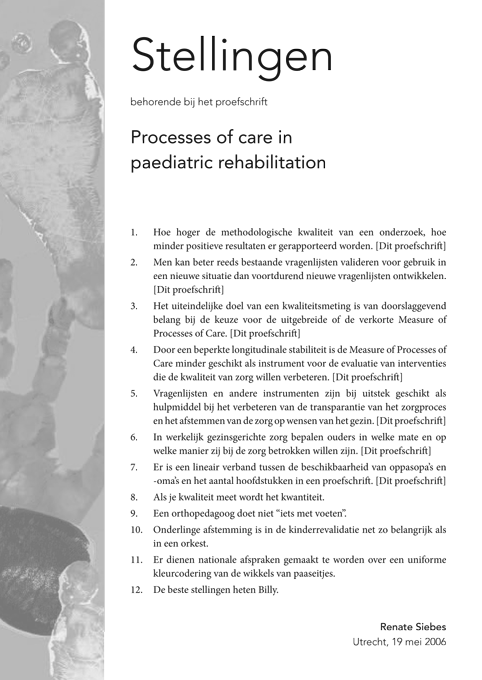
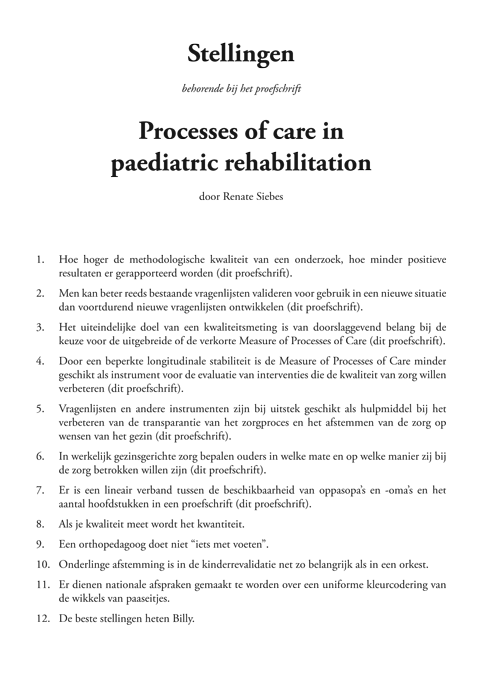
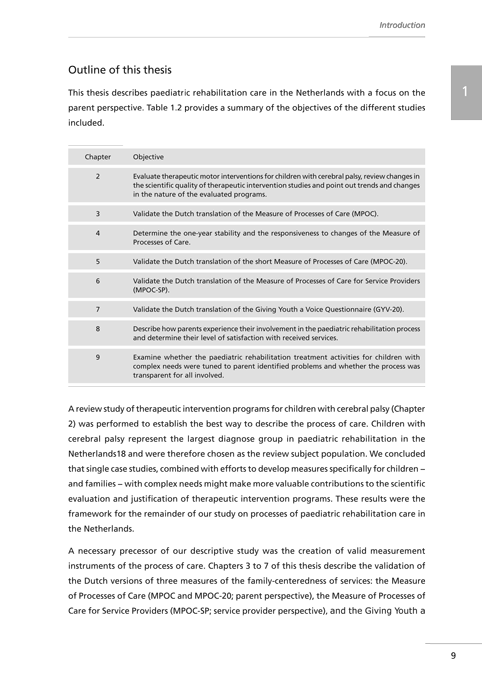
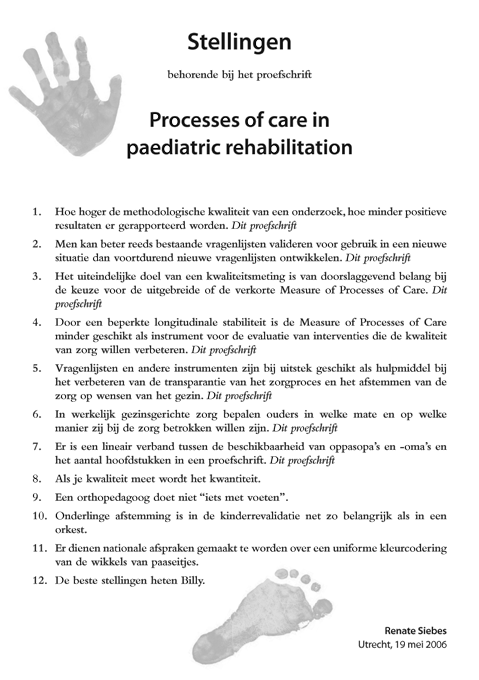
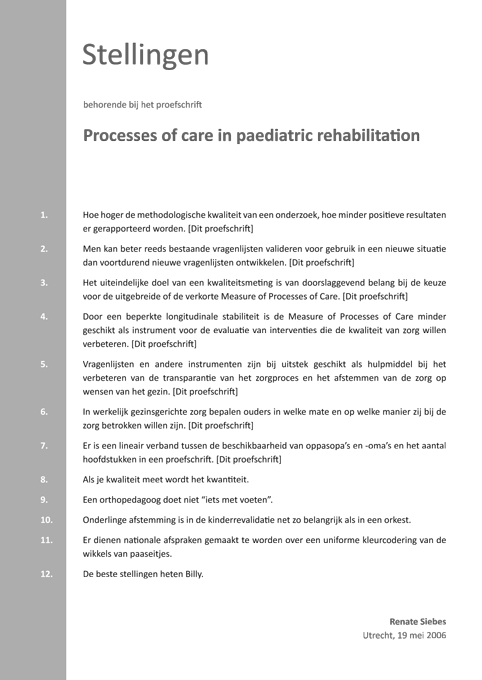
The layout decided upon will now be applied to your entire thesis. I work chapter by chapter and will use 'track changes' in Word. Any questions to you will be asked using Word comment boxes. At the end of the process you will receive a PDF file of the complete inside of the thesis. At the same time I will work on the cover, the bookmark, and, if present, the propositions.
Step 6: Final file check
Before any files go to the printer, you will get the opportunity to perform a final check. After making the final changes, the files will be made print-ready and will be sent to the printer after your approval.
Step 7: Sending the files to the printer
I collaborate with renowned thesis printers with an excellent ratio of price to quality. Upon your request I will also ask for quotes from other printers. I will manage the entire printing process for you.
Step 8: Checking the print proofs
Within five working days the print proofs will be mailed to you. If time is short, we will skip the print proofs and move directly to a digital proof.
Step 9: Approval of the print proofs
Errors based on the proof can again be indicated in the PDF using sticky notes. After the revised print-ready PDF is approved, I will forward the files to the printer. Upon your approval, the printing process will be started.
Step 10: Printing your thesis
After your approval, the printing process will be initiated. After an average of 10 working days, the books will be ready. The printer will contact you for proper delivery.
Step 11: Delivery of your printed thesis
Your thesis will be delivered on the time and place agreed upon.

 Been there, done that! A designer with a PhD is a definite advantage. I know how a PhD thesis should be constructed scientifically, I actively search for the best solutions, and monitor your deadlines. I have a sharp eye for small inconsistencies. Combine this with lots of experience – over 600 theses designed – and a beautiful personal layout, and you know why to choose Proefschrift.nu!

 In case of a rush order, I adjust my schedule but do not charge any additional fees. The workflow remains the same, only more compact: after the initial meeting, I develop the ideas into a sample chapter, after which I design the complete thesis within a few days. I also ensure that we can follow the fast-track option with the printer. I will discuss the available options and timeline with you in advance and make sure that the dissertations are delivered well on time.
 The costs for designing the interior layout usually range between €3.50 and €6.00 (excluding VAT) per thesis page, depending on the number of pages, tables, figures, and any additional work. Feel free to email me for a non-binding quote, or fill in the contact form.
The price for the cover and bookmark depends on the concept, ranging from using an image you provide to a completely custom design created from scratch. I can also design the chapter intro pages and, if desired, an additional party invitation and/or visuals for a presentation.
For estimating the printing costs, the number of pages and the number of copies are important factors. If you would like to include the printing costs in your decision-making, I can always provide an approximate price or request quotes on your behalf.
